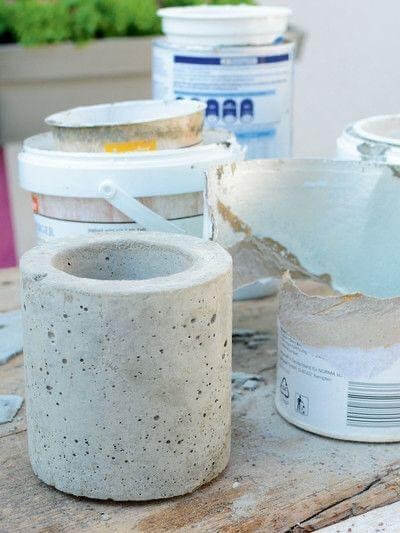
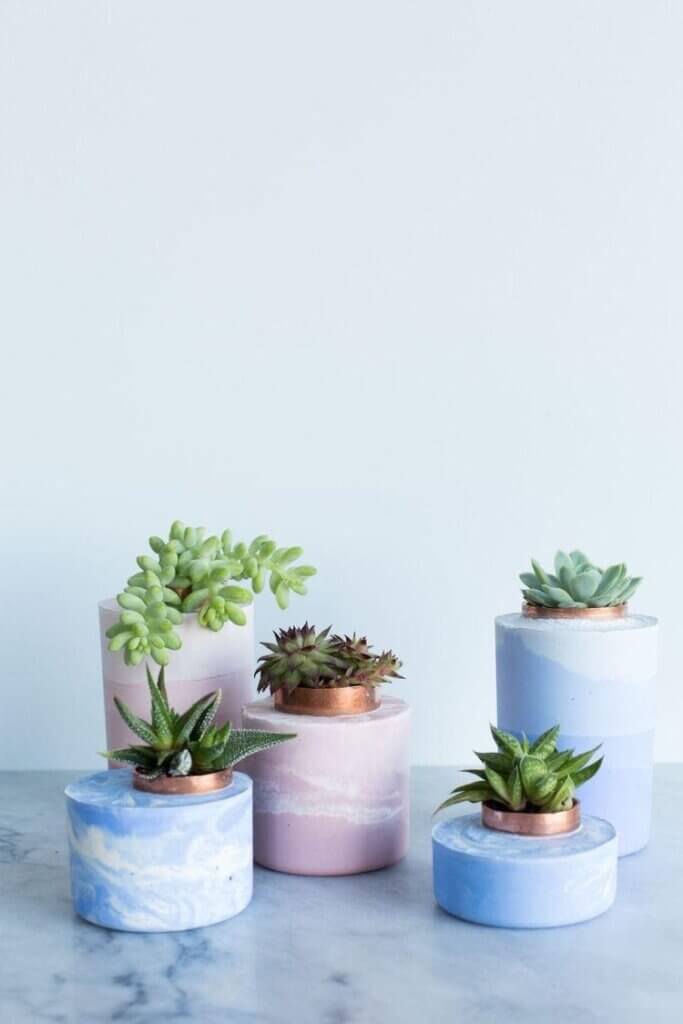
When you look around, there are a lot of things which we use in daily life that can be reused, recycled or upcycled and can be given a new meaning to its existence. With that, we hope this DIY of making concrete planters may inspire you to try your hands on recycling and upcycling and be a part of this moment.
Making of Concrete Planters using empty containers of moisturisers, plastic cups, other plastic containers.
So firstly, when you find a container empty at your home, try to collect them in a box, and save a date when you can plan fun activities of recycling them. You can do it alone or maybe gather together with your friends or family and have a quirky and interesting day out.
MATERIALS
- Empty containers (moisturisers,shampoo and conditioners, shower gel, oil, cups etc.)
- Sharp blade for cutting
- A plastic container for mixing cement
- Cement mix (Several options available on Amazon)
- Disposable spoon
- Mini cup (for creating the hole in the top of the concrete)
- Beans or pebbles (to weigh down the cups)
HOW TO
First, remove the pump from your empty lotion bottle and discard (the pump isn’t recyclable). Then, rinse out the inside of each container thoroughly before starting this project.
1. Then, cut off any excess parts of the bottle that you won’t need, with a sharp blade. Example: For a ‘bottle shaped’ planter, you’ll want to cut off just the very top of the container. For a shorter, squatty planter, you’ll want to cut the bottle in half, etc. Recycle any leftover bottle pieces that won’t be used.
2. Add the cement mix to a bucket or large container and stir while adding in the water. You’ll need 4 parts cement to 1 part water. Be sure to mix the two together really well, while moving fairly quickly since rapid setting mixes start to set up relatively fast.
3. Scoop cement mix into the bottle molds with a disposable spoon. Then, place small plastic cups, filled with something heavy to weigh it down (beans or pebbles), into the top of the container.
4. Wait for the concrete to dry. If you’re using a rapid setting concrete, it should be completely dry in 1-3 hours (depending on the temperature, etc).
5. Once the concrete has set and is hard to the touch, use a sharp blade to cut the container away from the concrete, being careful not to scratch the concrete itself. The easiest way is to score the plastic in a long line and then slowly go over the scoreline again while pulling the plastic away to ensure that the concrete doesn’t get scratched. Once the plastic has been removed from the concrete, be sure to recycle the bottles. Add small plants and you’re good to go. Also when it’s ready, you have a room full of options to add your touch of creativity to it. Paint it, add textures, use fabrics to cover them.


If you give it a try, do a story on Instagram and don’t forget to tag us 🙂


